Want to make some of your own? Here's how:
1. Take a sewing pattern for a fitting pair of pants. If you don't have one handy, there's a nice one here. Or take a pair of store-bought pants apart to make your own pattern (mine comes from some store-bought pyjama bottoms).
2. Take two fabrics with similar materials and properties. I used a double-sided fleece with the front side as fabric1 and the back side as fabric2.
3. Cut one complete pair of pants from each fabric. Note, though: since we'll be cutting and sewing up the individual pieces, we will lose some length. This we have to add during the initial cut. So estimate beforehand how many patchwork cuts you intend to make, and lengthen the legs by the appropriate amount of seam allowance.
Example: I usually sew with about 0.5 cm (3/16 in) of seam allowance. I want five patchwork stripes, so I lengthen the leg by 4 * 2 * 0.5 cm = 4 cm (4 * 2 * 3/16 in = 1.5 in).
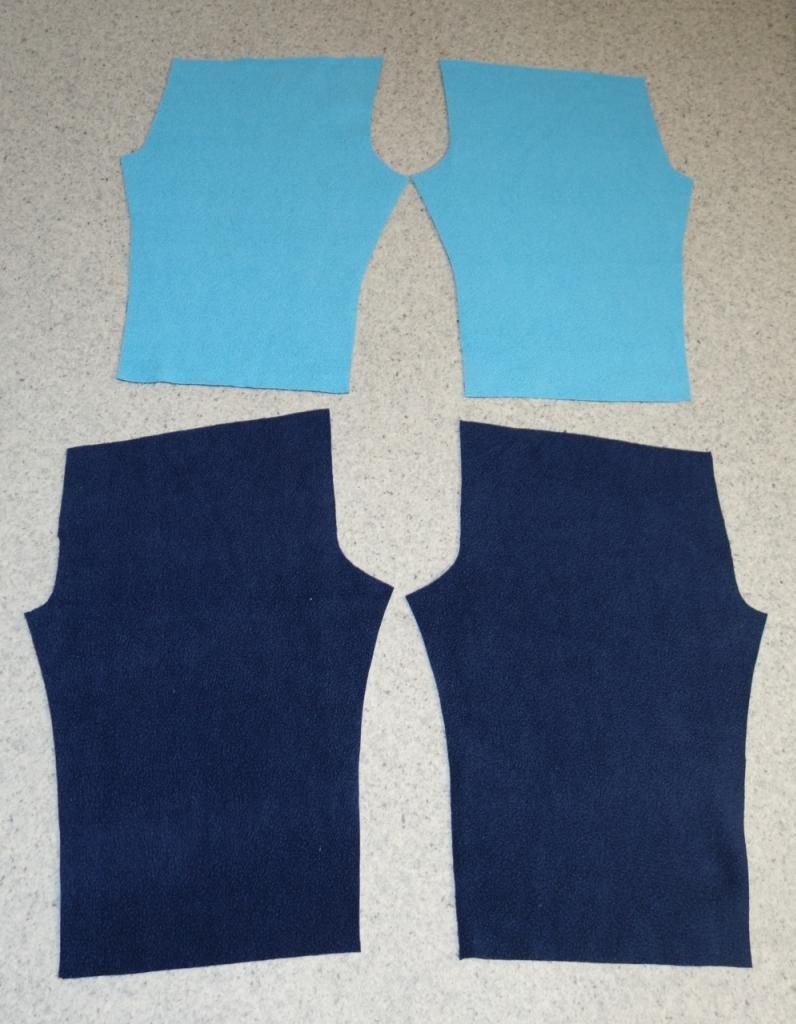
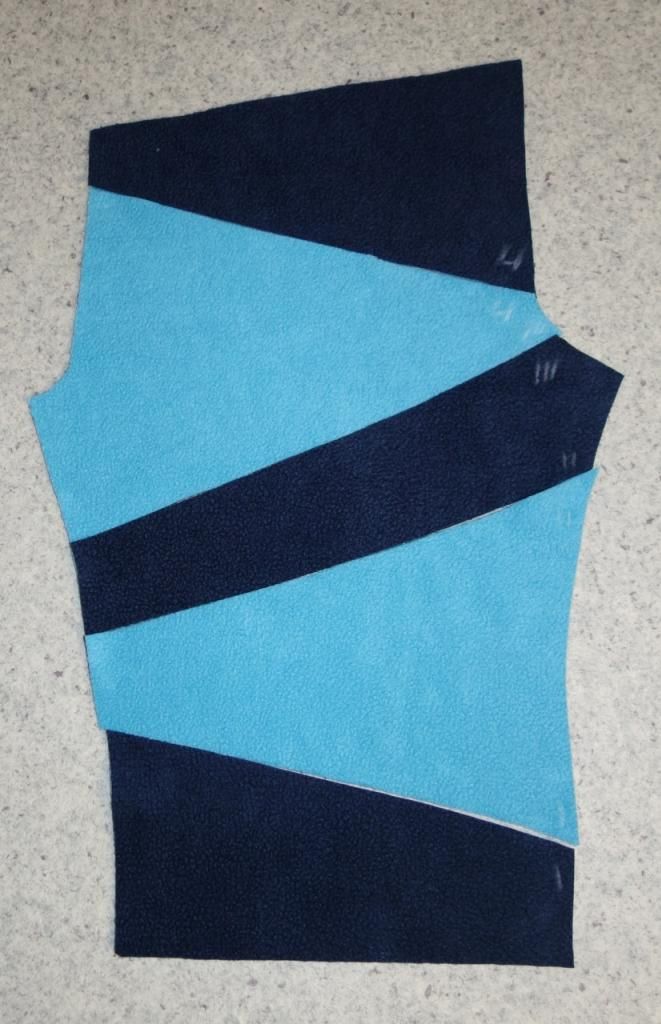
4. Stack the corresponding pattern peaces, placing the right leg of fabric1 on the right leg of fabric2.
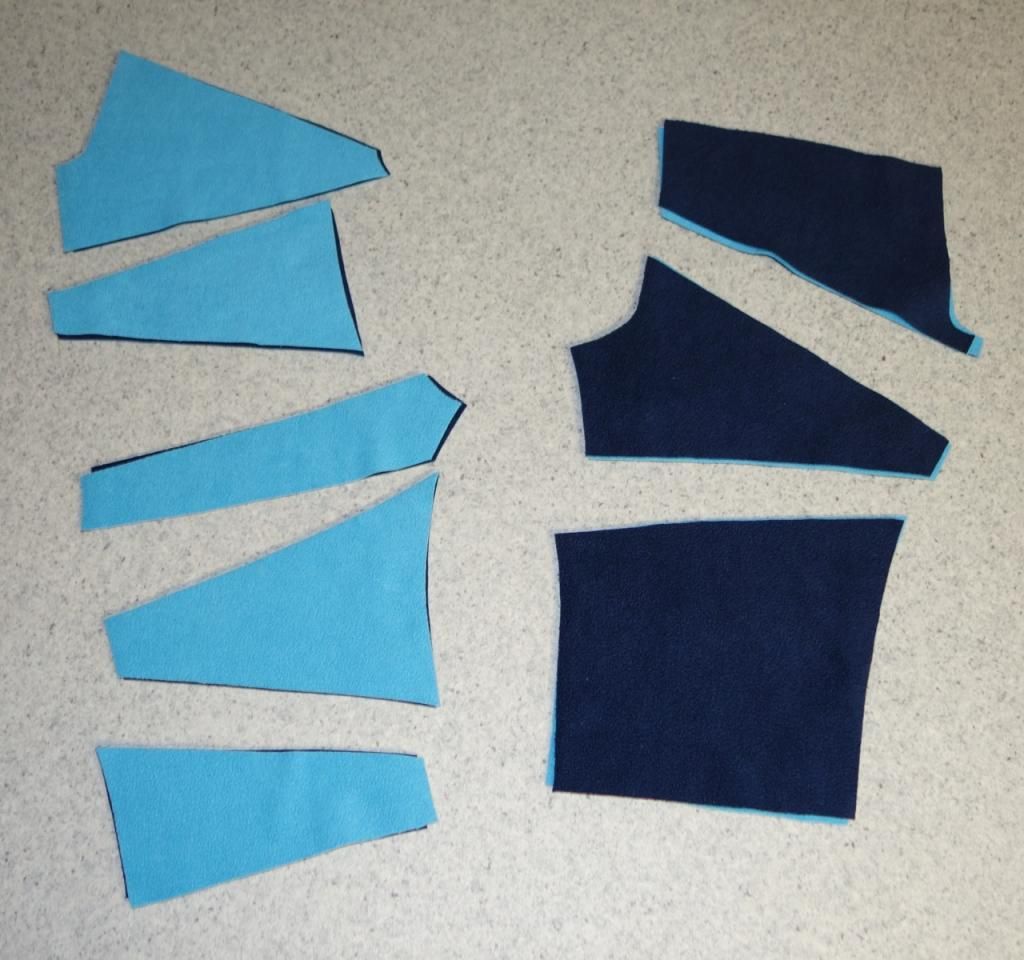
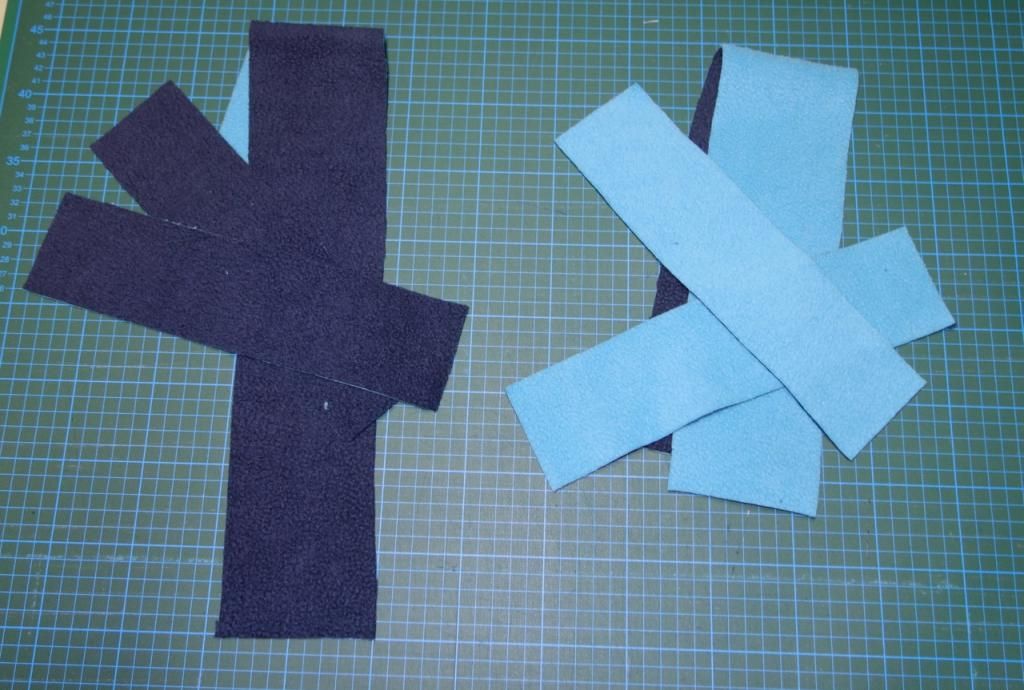
5. Now cut your patchwork pieces, but try not to make them too narrow - they should be at least 3/8 in + seam allowances wide, so you won't have trouble sewing them up later.
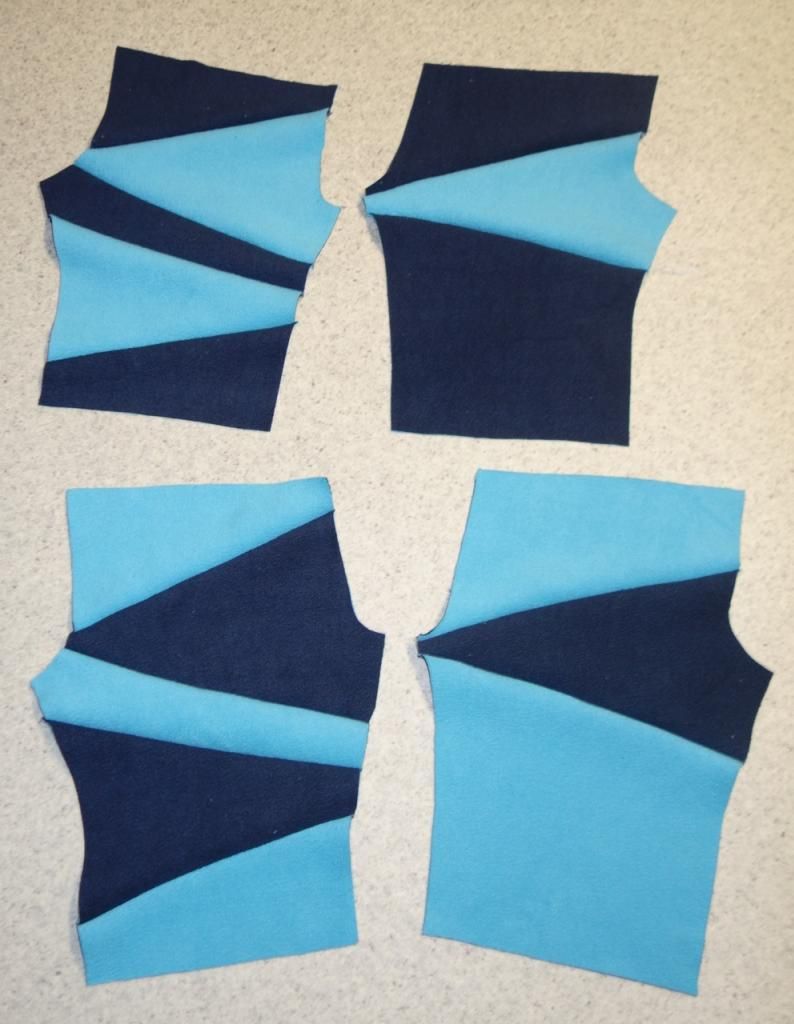
7. and reassemble them
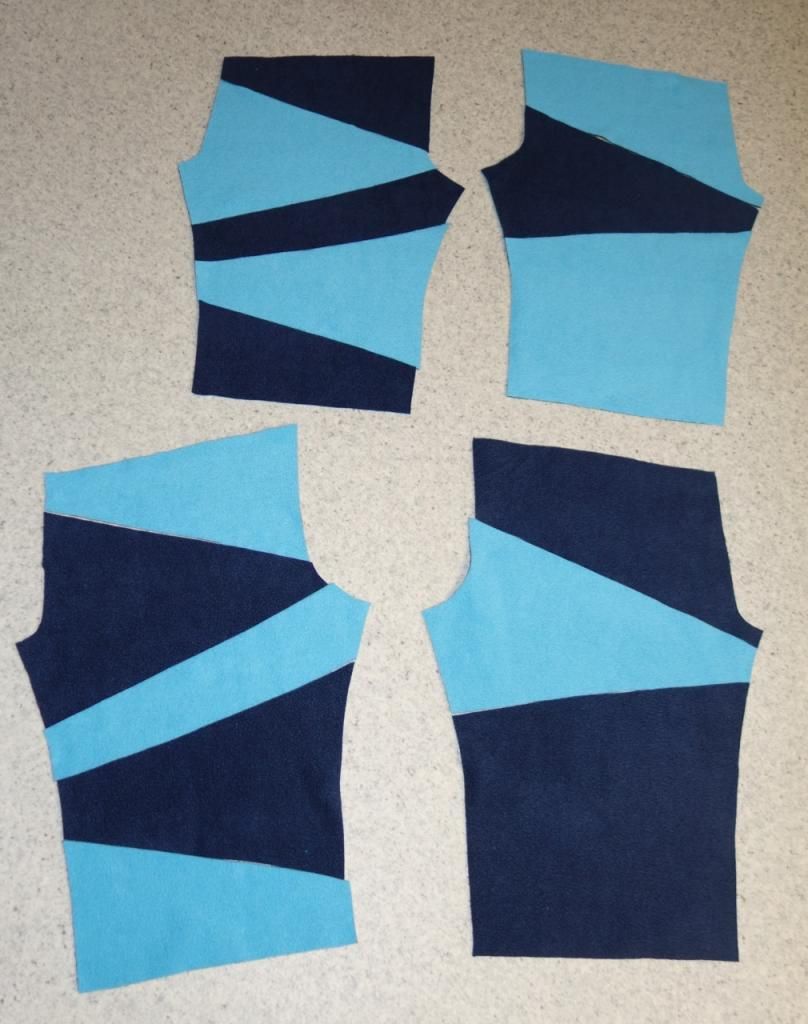
8. If there are a lot of pieces, it may be helpful to mark them so you know how they are supposed to fit together.
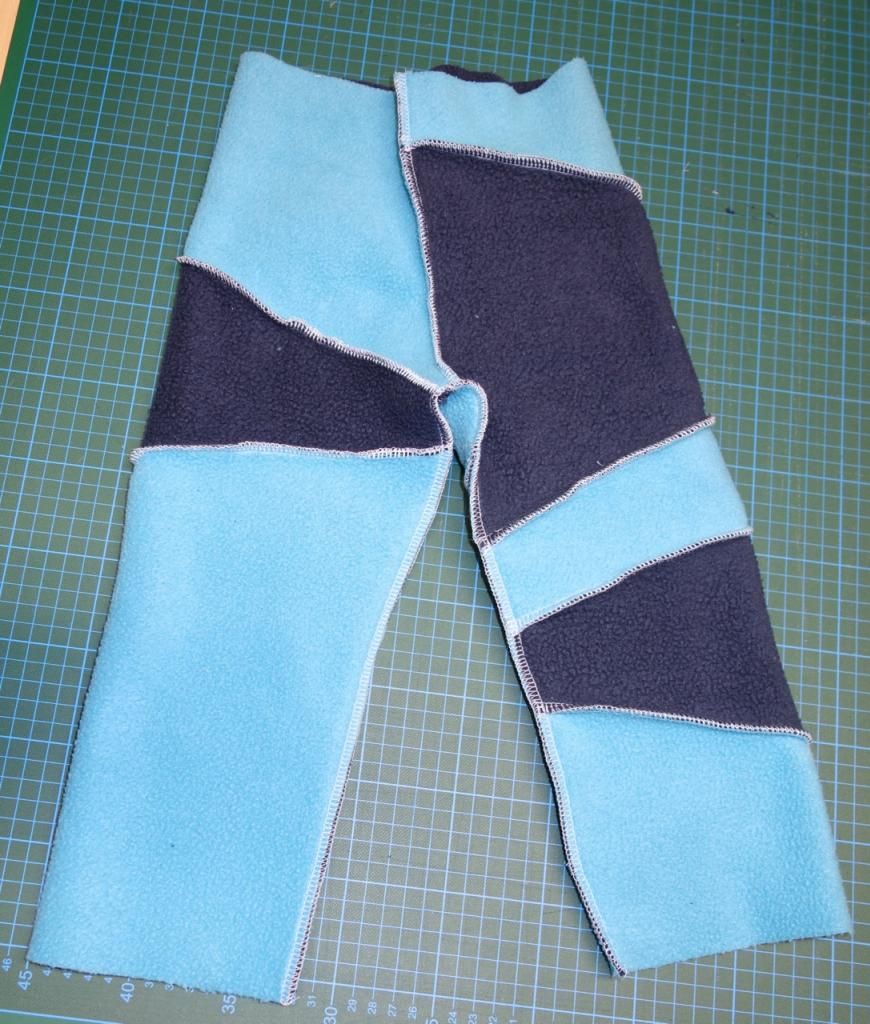
9. Sew the pieces together, neatening the edges if necessary, until you once again have four complete trouser legs.
10. Decide which right should go with which left leg. I chose this combination:
Now you can finish up the pants in the way you prefer. This is how I do it:
11. Stack the right and left leg with the right sides facing each other
12. Close the front and back middle seam

13. Close the leg seams in one go from one ankle to the other
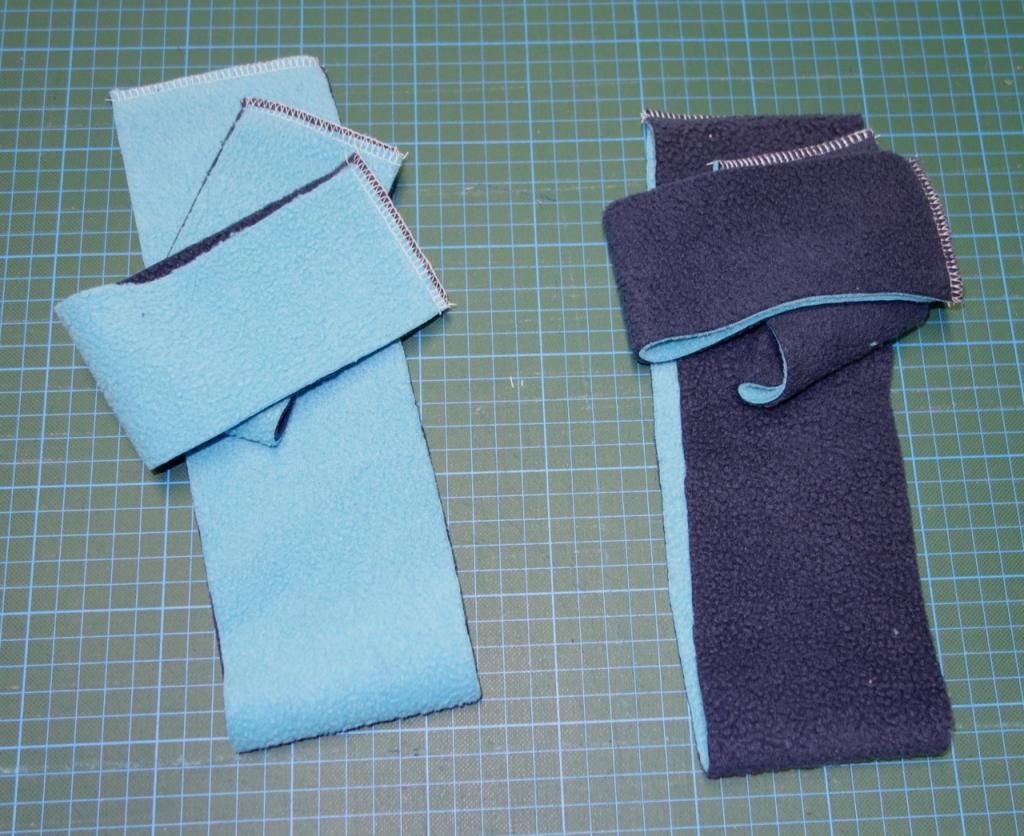
14. For the cuffs I'm using the same fabric as for the legs. I use an elastic band, so I don't necessarily need cuff fabric.
15. Cut the cuffs so they are as long as the corresponding pattern pieces plus seam allowance. I prefer broad cuffs, so I'm cutting them 7 cm (3 in) wide for the ankles and 9 cm (3.75 in) for the waist.
16. Fold over the pieces with right sides facing inwards to close the seam to make a circle.
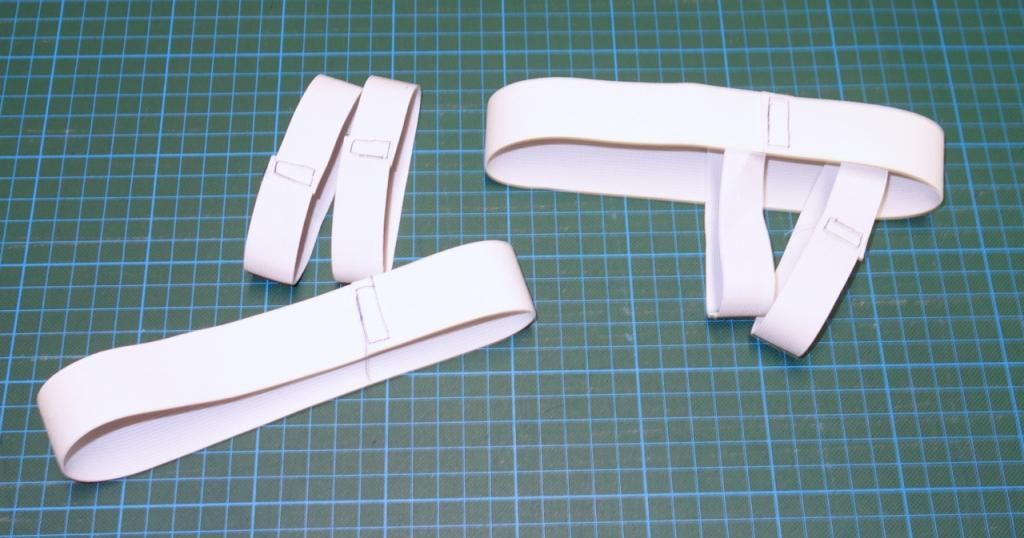
17. Take elastic band in a matching width - I use 3 cm (1.25 in) for the ankles and 4 cm (1.75 in) for the waist. Cut therequired lengths; if you don't have measurements handy, use a pair of well fitting pants for reference.
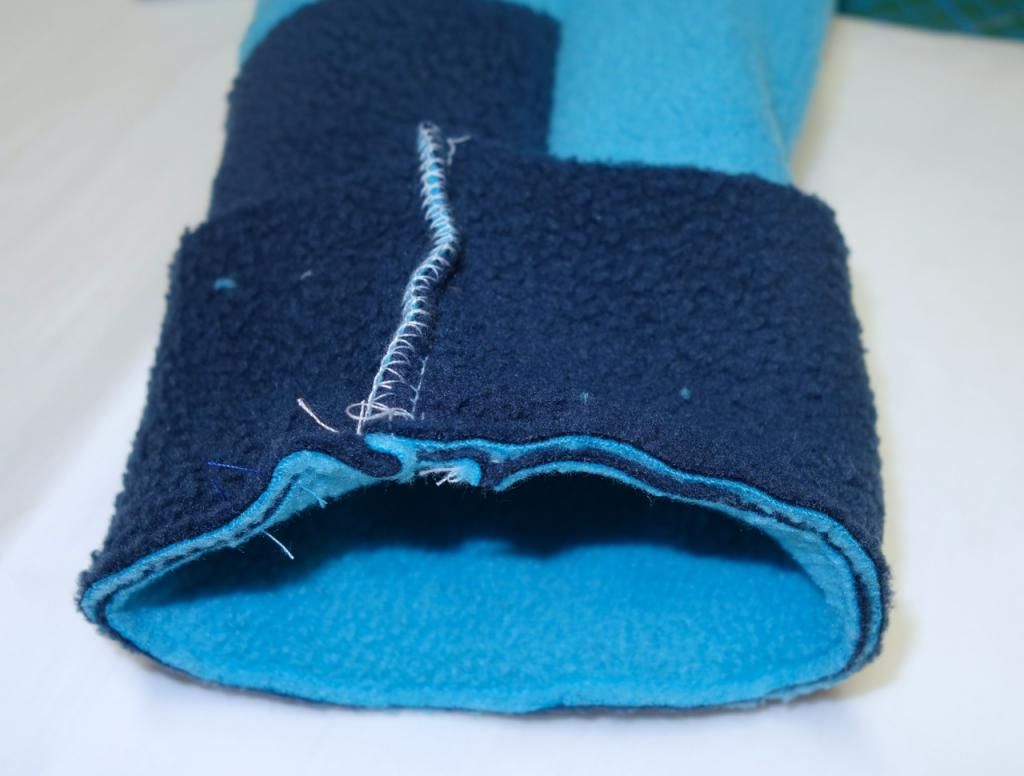
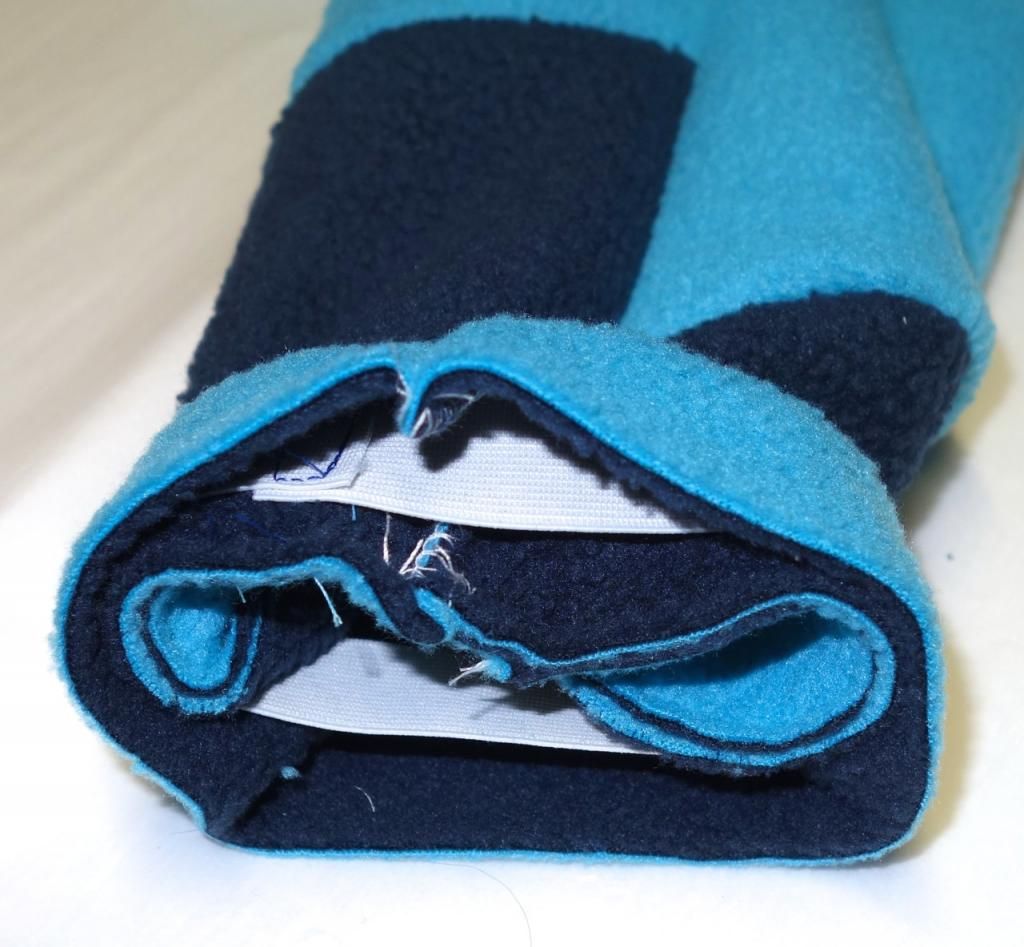
18. Close the elastic bands into circles.
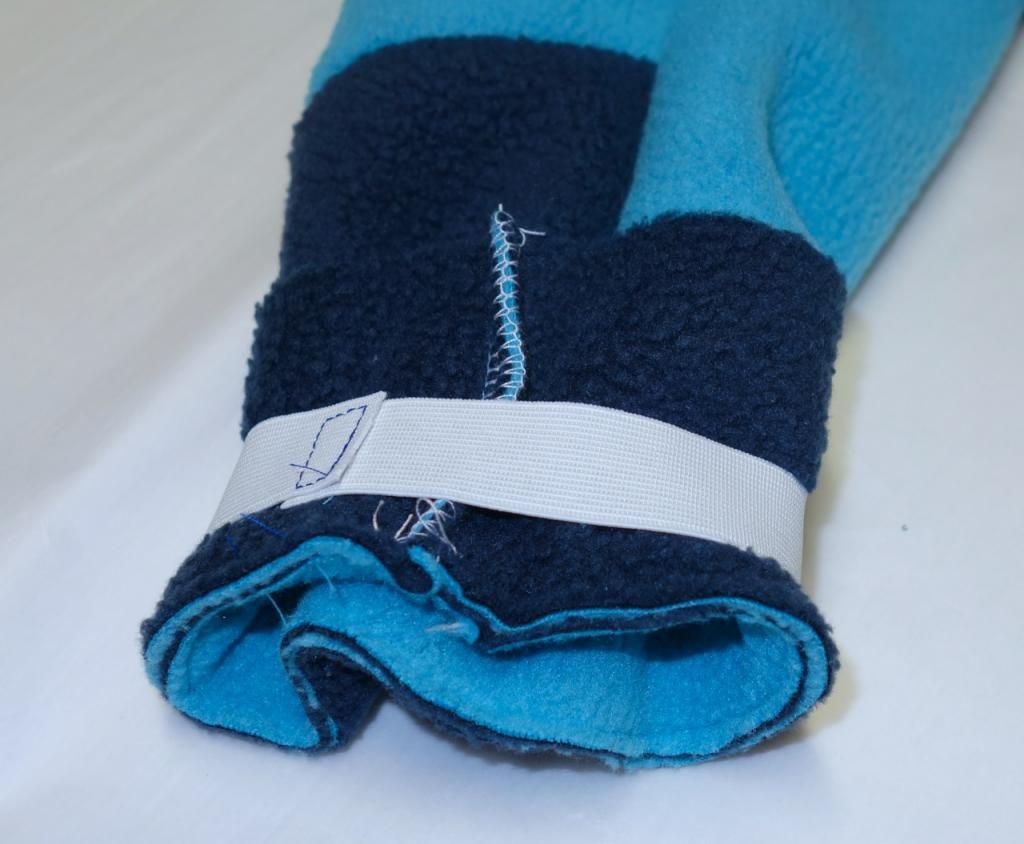
19. To attach the cuffs, first turn the pants right side out. Then place the cuffs on the pants with the right sides facing inward. Now you can fix them in place with pins, or do it my way and sew them in place close to the edge. That almost guarantees that later you'll catch all the layers and nothing moves out of place.
20. Now pull the elastic rings on the cuffs.
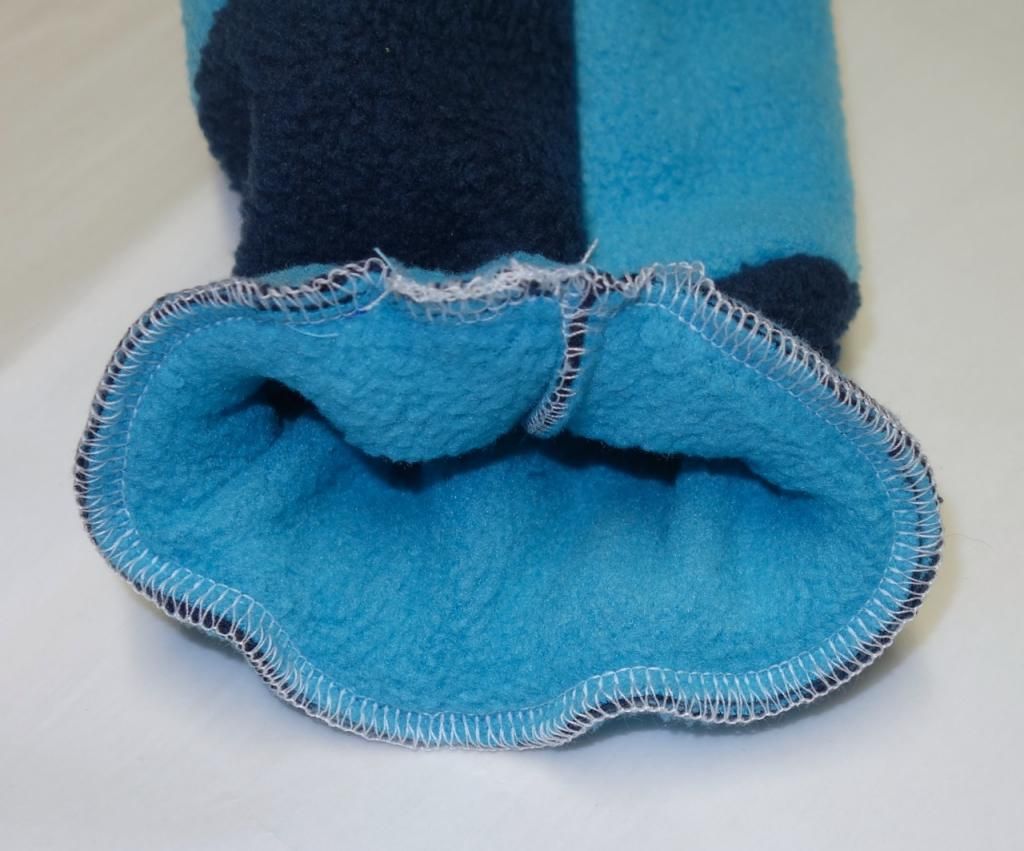
21. Fold over the cuff
22. and sew up around the edge.
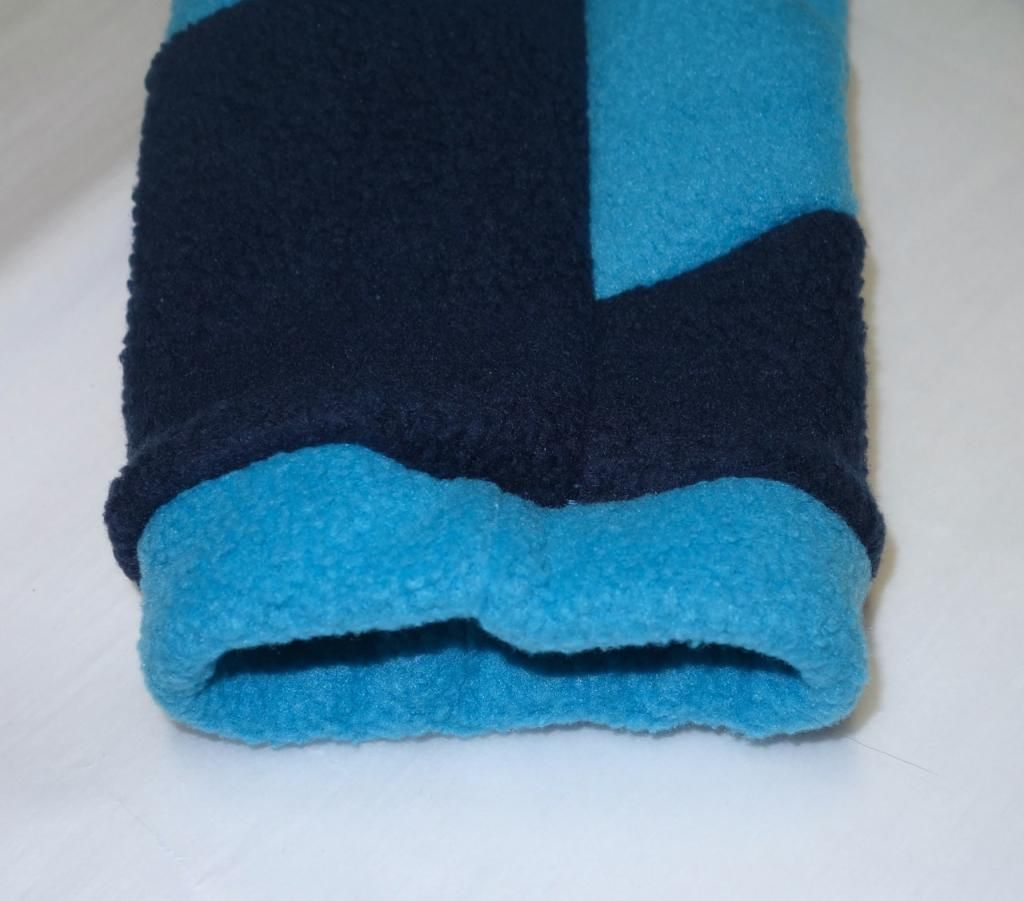
23. Something I like to do at the back of the waist is to insert a scrap of fabric with the size stitched on.
24. Fold down the cuffs and voilà!
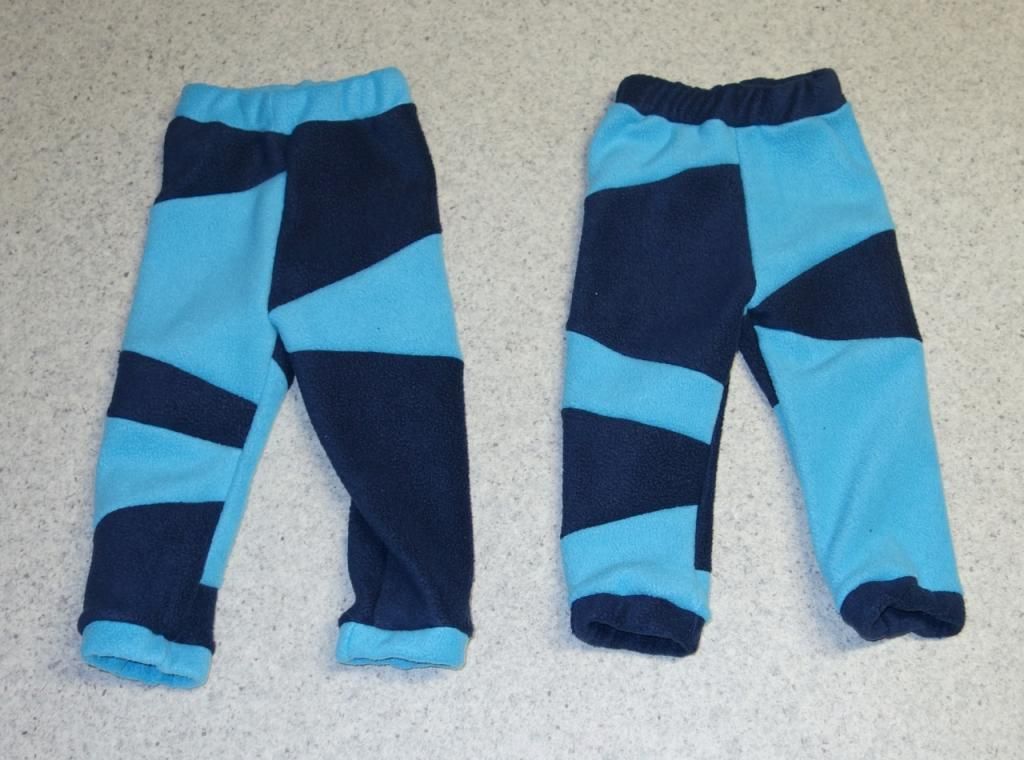
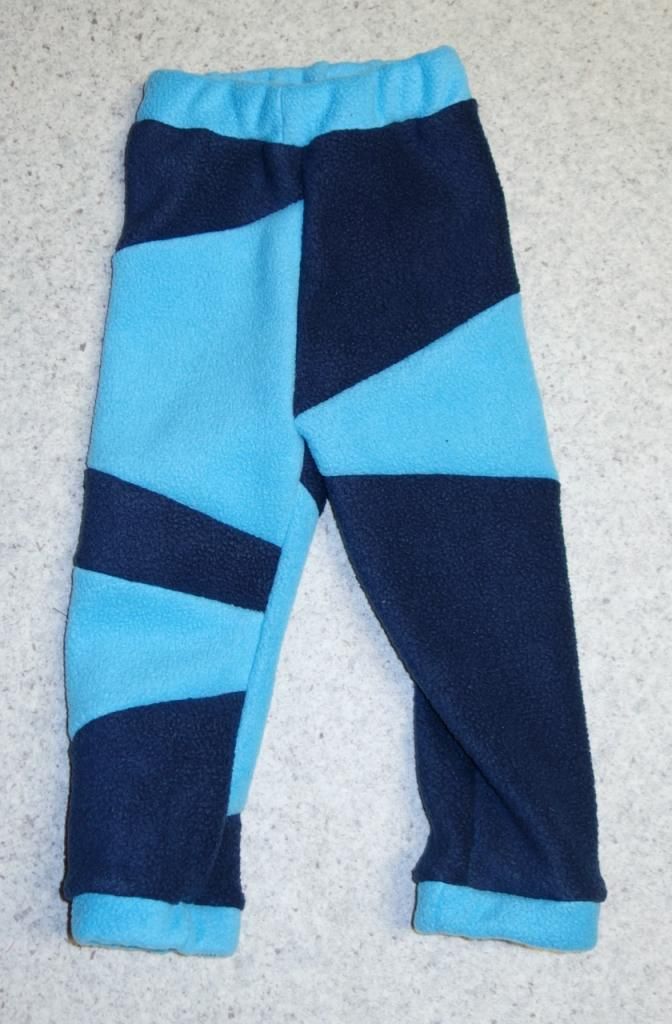
Two unique and individual patchwork pants.
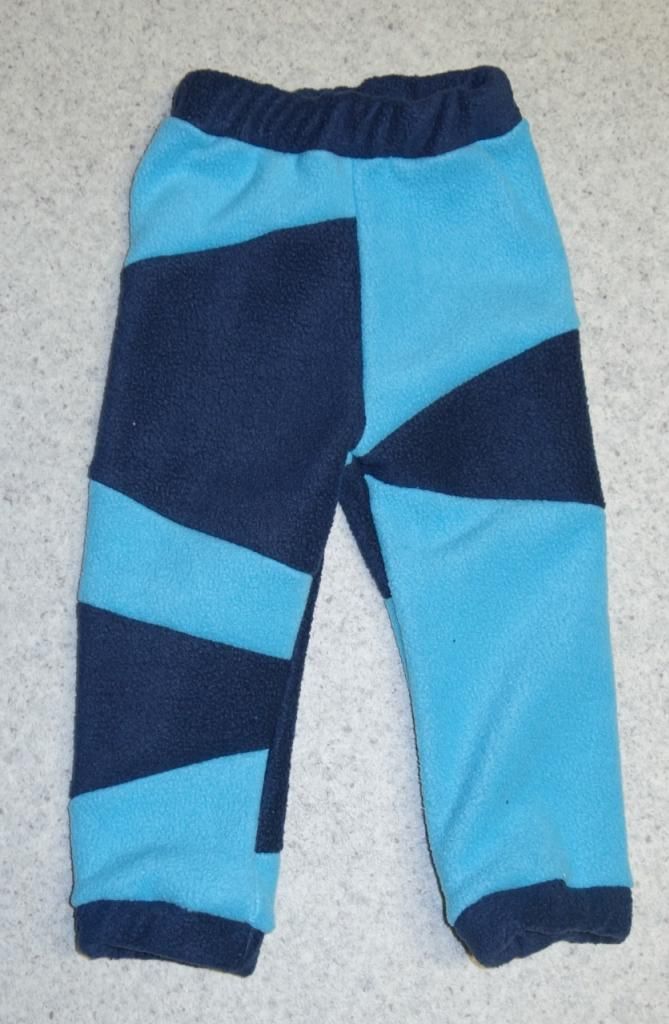
Of course you can also do this with three or more fabrics, which will give you three or more pairs of pants.
If you have any questions about this tutorial, I'll be happy to answer them. And if you decide to sew some patchwork pants, I'd love to see them!
Until then have fun, and happy sewing :-)
Keine Kommentare:
Kommentar veröffentlichen